I was recently contacted by one of my repeat customers to make a business card holder to match some of the other accessories I designed for her.....Here is what I came up with....
(This little cutie will be given away to some lucky follower....here is what you need to do to enter the giveaway.....follow my blog and leave a comment...both are required to win....The winner will be announced in my next blog post on Tues March 26, 2013)
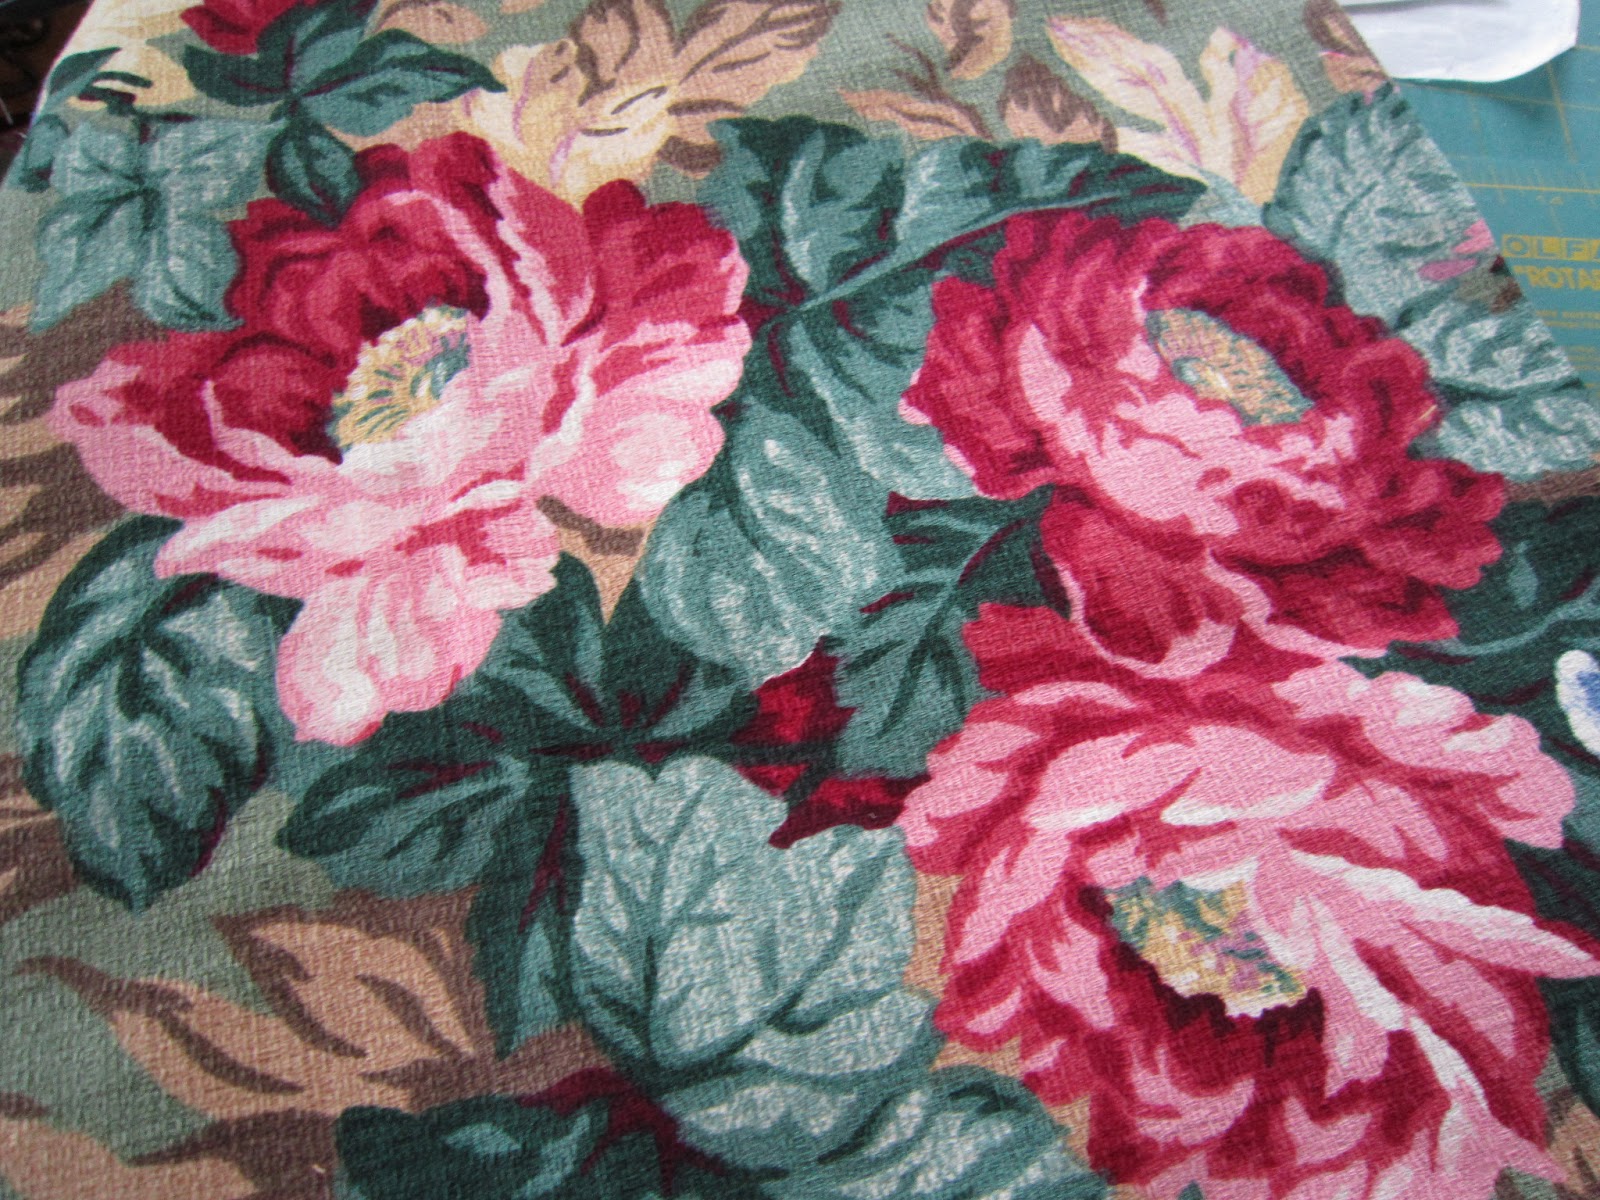
Here is what you will need to make this cute case:
2 fabric pieces cut 5 1/2” x 4 1/2” (one will be lining, one the
outside. You can do the same fabric for both, or different fabric to mix
things up)
2 fabric pieces cut 2 1/2” x 4 1/2”
1 fusible fleece piece cut 5 1/2” x 4 1/2”
Elastic cord (I use hair elastic...they comes in so many pretty colors)
Button
Here goes...To begin, take your 2 1/2” pieces and iron a double 1/4” hem down one long side.
Top-stitch your hem in place.
Place your hemmed pieces on top of your lining piece
so your raw edges line up.
Iron your fusible fleece piece to your top piece and put it
right sides together with your lining piece. Pin these pieces together,
but don’t sew yet!
On one of your 4 1/2” sides, insert your hair elastic in between the
lining and the top piece. The more elastic you stick in between the
layers, the longer your loop will be when you turn everything inside
out. I stuck it in about 3/4 of the way.
Then, sew around the perimeter of the whole thing using a 1/4” seam
allowance. Make sure you remember to leave a space for turning! Clip
your corners when you are done.
Turn and press well
Top-stitched around the entire thing to close the opening.
Sew down the middle to keep the pieces together
Find your button placement. I folded the loop up and just put my button where the top of the loop hit .hand stitch.... but make sure not to sew the pocket shut while doing so!
Add your business cards....
And you are finished!
Here is the one I made for my special customer...I added a vintage glass button to dress it up a bit...
These are available in my Etsy shop please stop by and take a look!...
https://www.etsy.com/shop/Antiquebasketlady
Be sure to stop back....Tues March 26, 2013 when the winner will be announced...